You did the hard part—finding a reputable garage door repair company and booking your appointment. Now the technician is on the way. Knowing what happens during a professional service visit helps you prepare, ask the right questions, and spot the difference between quality workmanship and rushed, subpar work.
This guide walks you through a typical garage door repair call from start to finish—whether you’re dealing with broken springs, opener issues, off-track doors, sensor problems, or damaged panels.
Before the Technician Arrives
A smooth service call starts before anyone touches a tool.
Confirm the appointment details
Most professional companies will confirm your appointment and provide an arrival window (not a vague “sometime today”). Many also send the technician’s name and sometimes a photo or tracking link.
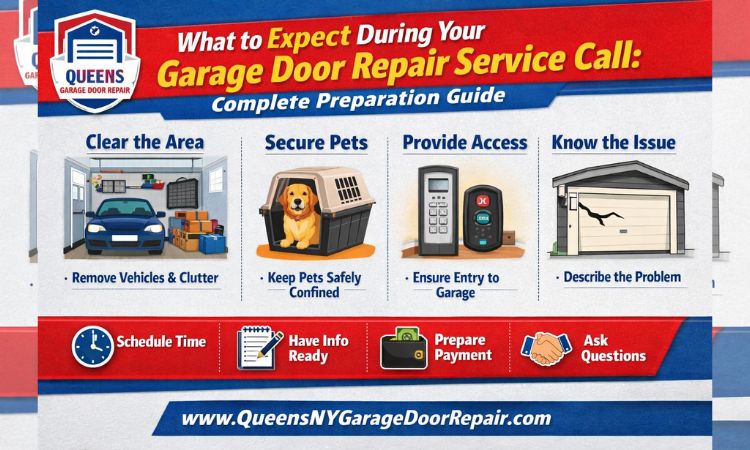
Clear the work area
To help the repair go faster (and safer), do this before they arrive:
- Move vehicles out if possible
- Clear items near the tracks, door edges, and opener area
- Secure pets and keep kids away from the garage
- Make sure the technician can access the wall button, outlets, and breaker panel
Document existing issues
If there’s visible damage—bent tracks, dented panels, broken springs—take a few photos. This is helpful for insurance, warranties, or just peace of mind.
Gather any warranty or paperwork
If you have documentation for your door/opener or previous repairs, keep it handy. Some parts may still be under warranty.
Step 1: Arrival and Professional Check-In
A professional technician will usually:
- Introduce themselves and confirm the issue you’re experiencing
- Show company identification (or arrive in clearly branded uniform/vehicle)
- Ask basic questions: when the problem started, any recent noises, prior repairs, etc.
This is also your first “vibe check.” If someone is pushy, vague, or refuses to explain things—pay attention.
Step 2: Safety Inspection Comes First
Before jumping into repairs, a qualified technician should inspect for hazards, including:
- Spring condition and tension risks
- Cable condition and fraying
- Track alignment and loose hardware
- Sensor safety function
- Door balance and “drop risk”
- Opener strain and force settings
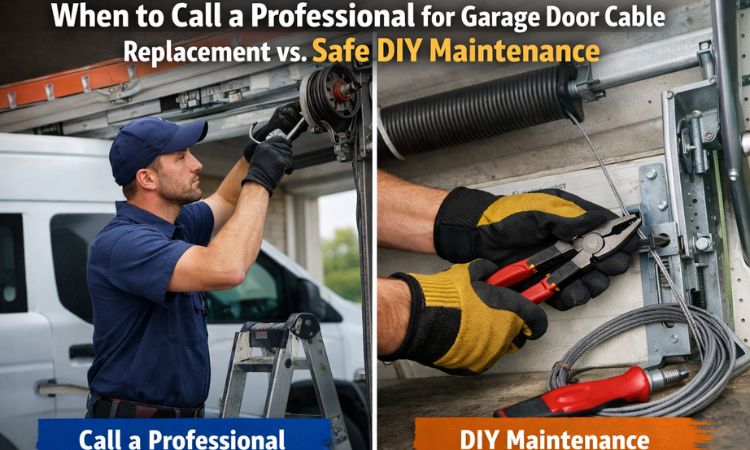
This step matters because garage doors can be dangerous when components fail, especially springs and cables.
Step 3: Diagnosis and Root-Cause Testing
A good technician doesn’t guess—they test. Expect them to:
- Run the door using the wall button and remote
- Disconnect the opener and operate the door manually
- Listen for grinding, popping, dragging, or motor strain
- Check rollers, hinges, bearings, and track spacing
- Inspect wiring and sensor alignment (when relevant)
- Confirm if the issue is mechanical, electrical, or both
The goal is to fix the cause—not just temporarily “make it work.”
Step 4: Clear Explanation of What’s Wrong
A professional should be able to explain the issue without confusing jargon and should be willing to show you:
- What part failed
- Why it failed (wear, corrosion, impact, misalignment, age, etc.)
- Whether replacement is necessary or repair is reasonable
- What could fail next (if related parts are worn)
If they won’t explain, rush you, or won’t show the damaged part, that’s a red flag.
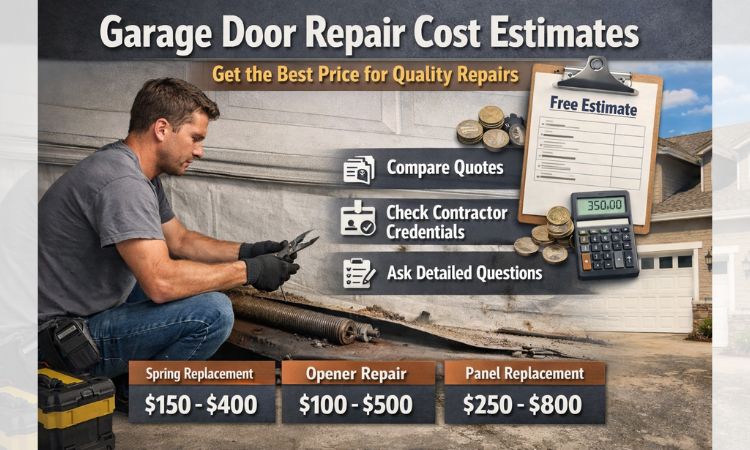
Step 5: Written Estimate and Approval
Before work starts, you should get an estimate that is:
- Itemized (parts + labor)
- Clear about what’s included
- Honest about possible add-ons (only if discovered after disassembly)
What pros often do well here
They may give you options, like:
- Standard vs. premium springs
- Repair vs. replace an opener component
- Replace one part vs. upgrading worn related parts for longevity
What you should never get
- “We’ll see later” pricing
- Verbal-only quotes
- Pressure tactics like “today-only pricing”
You should approve the work before they proceed.
Step 6: The Repair Work (What It Should Look Like)
Once approved, professional repair work usually includes:
Proper safety steps
- Power shutoff for opener work
- Clamping/securing the door so it can’t drop
- Safe spring tension release with correct tools
- Controlled handling of high-tension components
Professional workflow and workmanship
Signs of quality work include:
- The technician has the proper tools (not improvising)
- Parts used are appropriate quality (not bargain-bin replacements)
- The work is methodical—not rushed
- Hardware is tightened correctly and aligned properly
- Moving parts are lubricated where appropriate
- The door is balanced after spring/cable work
If you see “shortcut behavior” (skipping adjustments, not checking balance, rushing to leave), that often leads to repeat failures.
Step 7: Full Testing and Safety Verification
A professional should test the system thoroughly—this is non-negotiable.
Testing should include:
- Manual open/close cycles (smooth movement, no binding)
- Opener operation (wall button, remotes, keypad/app if applicable)
- Sensor test (beam interruption should stop/reverse the door)
- Auto-reverse test (door should reverse when contacting resistance)
- Balance test (door stays put around mid-height when disconnected)
If they don’t test safety features, the job is not finished.
Step 8: Final Adjustments and Customer Walkthrough
Before leaving, a good technician will:
- Fine-tune opener limits and force settings (if needed)
- Confirm quiet, smooth travel
- Explain what was replaced and why
- Give maintenance tips (lubrication, early warning signs, inspection frequency)
- Provide a detailed invoice + warranty info
You should leave the visit knowing exactly what was done and what to watch for.
After the Technician Leaves
Do a quick check while everything is fresh.
Immediate things to do
- Open/close the door 3–5 full cycles
- Confirm the door seals shut fully and locks correctly
- Listen for new noises
- Save your receipt/warranty details somewhere easy to find
If anything feels off, contact them immediately—good companies want to fix it fast.
Red Flags During a Service Call
If you see any of these, consider stopping the job or escalating:
- Price increases without explanation or approval
- Refusing to provide a written estimate or invoice
- Won’t explain or show the problem part
- Skipping safety testing
- Pressuring payment before you inspect the door
- Leaving debris, mess, or damage behind
Professional work is transparent, safe, and test-driven.
Emergency Service Calls: What’s Different
Emergency visits often involve:
- Faster arrival windows
- Higher after-hours pricing (ask upfront)
- Temporary securing measures if parts aren’t immediately available
- Focus on restoring security first (door closing/locking) even if a full fix needs follow-up
A good emergency tech will clearly explain whether the fix is temporary or permanent.
How to Make Any Service Call Faster and Cheaper
A few small actions can reduce your cost and downtime:
- Clear the area before they arrive
- Describe symptoms accurately (noise, location, timing, what it does/doesn’t do)
- Share photos/videos when booking
- Keep receipts for warranty validation
- Ask about maintenance options after repair (especially after spring work)
Final Takeaway
A professional garage door repair service call should follow a predictable pattern: safety check → diagnosis → clear explanation → written estimate → quality repair → full testing → walkthrough + warranty.
If those steps happen, you’re likely dealing with a real pro—and your repair should be safer, smoother, and longer-lasting.
If you want, paste the issue you’re having (or the estimate you received) and I’ll rewrite it into a clear checklist of questions to ask the technician during the visit so you stay in control.