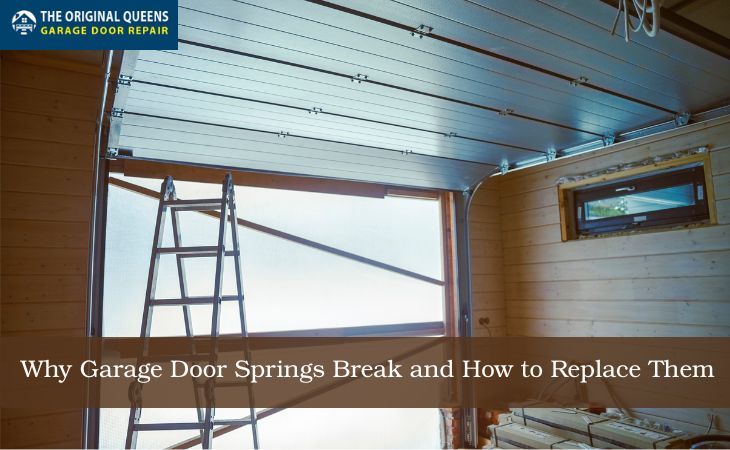
Garage doors work tirelessly to protect your home and provide daily convenience but they rely heavily on one small but critical part: the garage door springs. When these springs break, your entire garage system can grind to a halt. This guide explains whygarage door springs break and offers step-by-step tips on how to replace them safely and effectively.
Common Causes of Garage Door Spring Failure
Garage door springs whether torsion or extension types are under immense tension every time you open or close your garage. Here are the most common reasons they fail:
- Rust and Corrosion: Rust weakens the metal and increases friction. This can dramatically shorten the lifespan of your spring. A lack of regular lubrication accelerates this issue.
- Improper Maintenance: Ignoring signs of spring stress like squeaking sounds, uneven garage movement, or a door that feels heavier can lead to sudden failure.
- Poor Installation: Cheap or incorrectly installed springs may not be calibrated to the weight of your garage door, leading to premature snapping.
Signs Your Garage Door Spring Is Broken
You’ll know your spring is broken if:
- The door slams shut instead of gliding down.
- The opener motor struggles or stalls.
- There’s a visible gap in the torsion spring.
- The door feels heavier than usual when opening manually.
If you’re experiencing these symptoms alongside cable issues, check out our related guide: What causes the cable to come off the garage door?
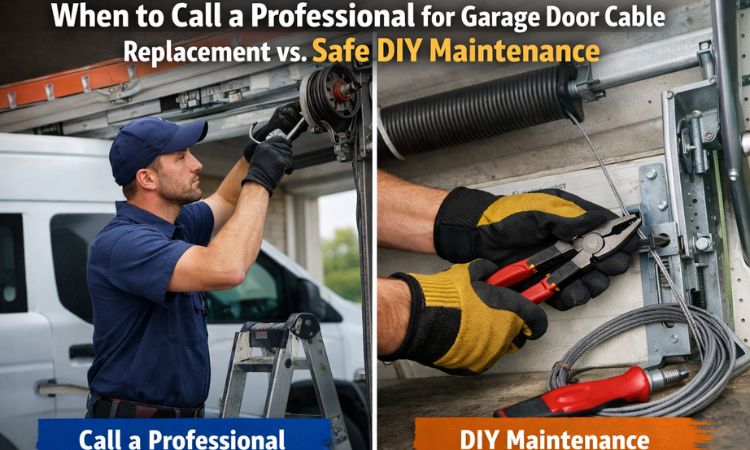
Can You Replace a Garage Door Spring Yourself?
While it’s possible to DIY, replacing a spring is extremely dangerous due to the high tension involved. If you’re not trained, you risk serious injury.
That said, here’s a general outline of the replacement process (for informational purposes only):
How to Replace a Garage Door Spring (Torsion Type)
Tools Needed:
- Winding bars (never screwdrivers!)
- Socket wrench
- Safety glasses and gloves
- C-clamps or locking pliers
Steps:
- Disconnect the opener – Unplug it and pull the emergency release cord.
- Secure the door – Use C-clamps below the bottom rollers to hold it in place.
- Release tension – Carefully unwind the unbroken spring using winding bars.
- Remove old spring – Loosen set screws and slide the spring off.
- Install new spring – Slide it onto the torsion bar and secure with set screws.
- Wind the new spring – Use winding bars to apply the correct number of turns.
- Test balance – Open the door halfway manually. If it stays, you’re good.
WARNING: Always consult a professional for this task. The tension in the spring can cause fatal injuries if mishandled.
Why Hire a Garage Door Professional in Queens?
Garage spring replacement is not a DIY project for most homeowners. Here’s why it’s worth calling in the pros:
- Specialized tools and training
- Proper tension calibration
- Warranty-backed parts
- Quicker, safer results
At Queens NY Garage Door Repair, we respond fast and offer same-day service for broken spring emergencies.
How to Prevent Future Spring Breaks
- Regularly lubricate springs with garage-specific lubricant.
- Schedule annual inspections for tension calibration.
- Don’t delay repairs when the door behaves abnormally.
- Install a safety cable on extension spring systems.
Need Help Today?
Broken garage door spring? Don’t wait. Contact Queens NY Garage Door Repair for immediate service. Our team is available 24/7 across Queens for safe, expert garage door repair.