Garage door rollers are small but essential components that ensure your garage door opens and closes smoothly. Over time, these rollers can wear out, causing your door to become noisy, stick, or operate unevenly. Replacing garage door rollers may seem intimidating, but with the right tools and precautions, it’s a manageable DIY task. This guide will walk you through the process step by step, helping you restore your garage door’s smooth operation.
Why Replace Garage Door Rollers?
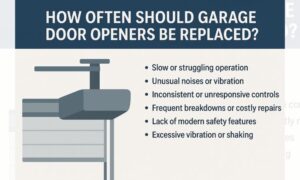
Garage door rollers are typically made of nylon, steel, or a combination of materials. Signs that indicate your rollers need replacement include:
- Loud squeaking or grinding noises during operation
- Door moving unevenly or getting stuck
- Visible wear, cracks, or rust on rollers
- Excessive vibration or wobbling
Ignoring worn rollers can put additional stress on the garage door springs, cables, and opener, potentially leading to more costly repairs.
Tools You’ll Need
Before starting, gather the following tools:
- Socket wrench set
- Screwdriver (flathead and Phillips)
- C-clamps or locking pliers
- Ladder
- Work gloves
- Replacement rollers (ensure they match the size and type of your existing ones)
Safety Precautions
Working on garage doors can be dangerous due to the tension in the springs. Follow these safety tips:
- Disconnect the garage door opener to prevent accidental movement.
- Use C-clamps or locking pliers to secure the door in place before removing any rollers.
- Never attempt to adjust or remove springs unless you are a trained professional.
Step-by-Step Guide to Replacing Rollers
Step 1: Prepare the Garage Door
Close the garage door completely. Place a ladder beside the door to reach the rollers safely. Use C-clamps to secure the bottom of the door to prevent it from moving while you work.
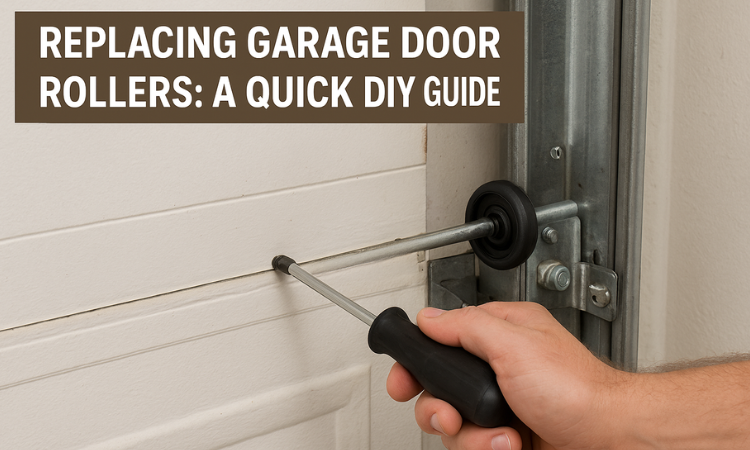
Step 2: Remove the Old Rollers
Locate the roller brackets along the door. Use a socket wrench or screwdriver to remove the bolts or screws holding the roller in place. Carefully slide the roller out from the track. Inspect the track for any debris or damage before inserting a new roller.
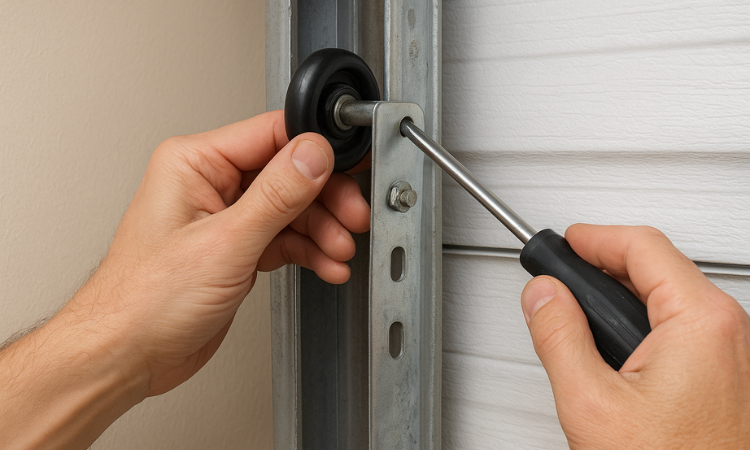
Step 3: Install the New Rollers
Insert the new roller into the bracket, ensuring it fits snugly in the track. Secure the roller with the original bolt or screw. Avoid overtightening, as this can prevent the roller from spinning freely.
Step 4: Repeat for All Rollers
Garage doors typically have multiple rollers along each side. Replace each roller one by one, checking for smooth operation after each installation.
Step 5: Test the Door
Once all rollers are replaced, remove the C-clamps and manually lift the door halfway to ensure it moves smoothly along the tracks. Reconnect the garage door opener and test the door several times. Listen for any unusual noises or sticking points.
Step 6: Lubricate Rollers and Tracks
After installation, apply a silicone-based lubricant to the rollers and tracks. Avoid using heavy grease, which can attract dirt and debris, causing future issues.
When to Call a Professional
While replacing rollers is a manageable DIY task for many homeowners, some situations require professional help:
- Broken or highly rusted rollers
- Bent or damaged tracks
- Springs under high tension
- Persistent door alignment issues
Professional garage door technicians, like those at Garage Door Repair Queens, can replace rollers safely and ensure your door operates smoothly for years.
Conclusion
Replacing garage door rollers doesn’t have to be complicated. With the right tools, safety precautions, and step-by-step instructions, you can extend the life of your garage door and maintain smooth, quiet operation. If you’re unsure about the process or encounter complications, it’s always safer to contact a professional.
Investing a little time in replacing worn rollers can prevent bigger repairs in the future and keep your garage door running like new.
 How to Get the Bes..